
Let's Dough This
Welcome to your journey into sourdough bread baking!
Did you know?
Thanks to its natural fermentation process, sourdough is easier to digest than regular bread and may be gentler on your blood sugar. It’s packed with pro-biotics, nutrients, and a rich, tangy flavor that only time and tradition can create and now you are a part of that!
Starter Feeding
Instructions
Looking for more detailed instructions? Scroll on for step by step guide.
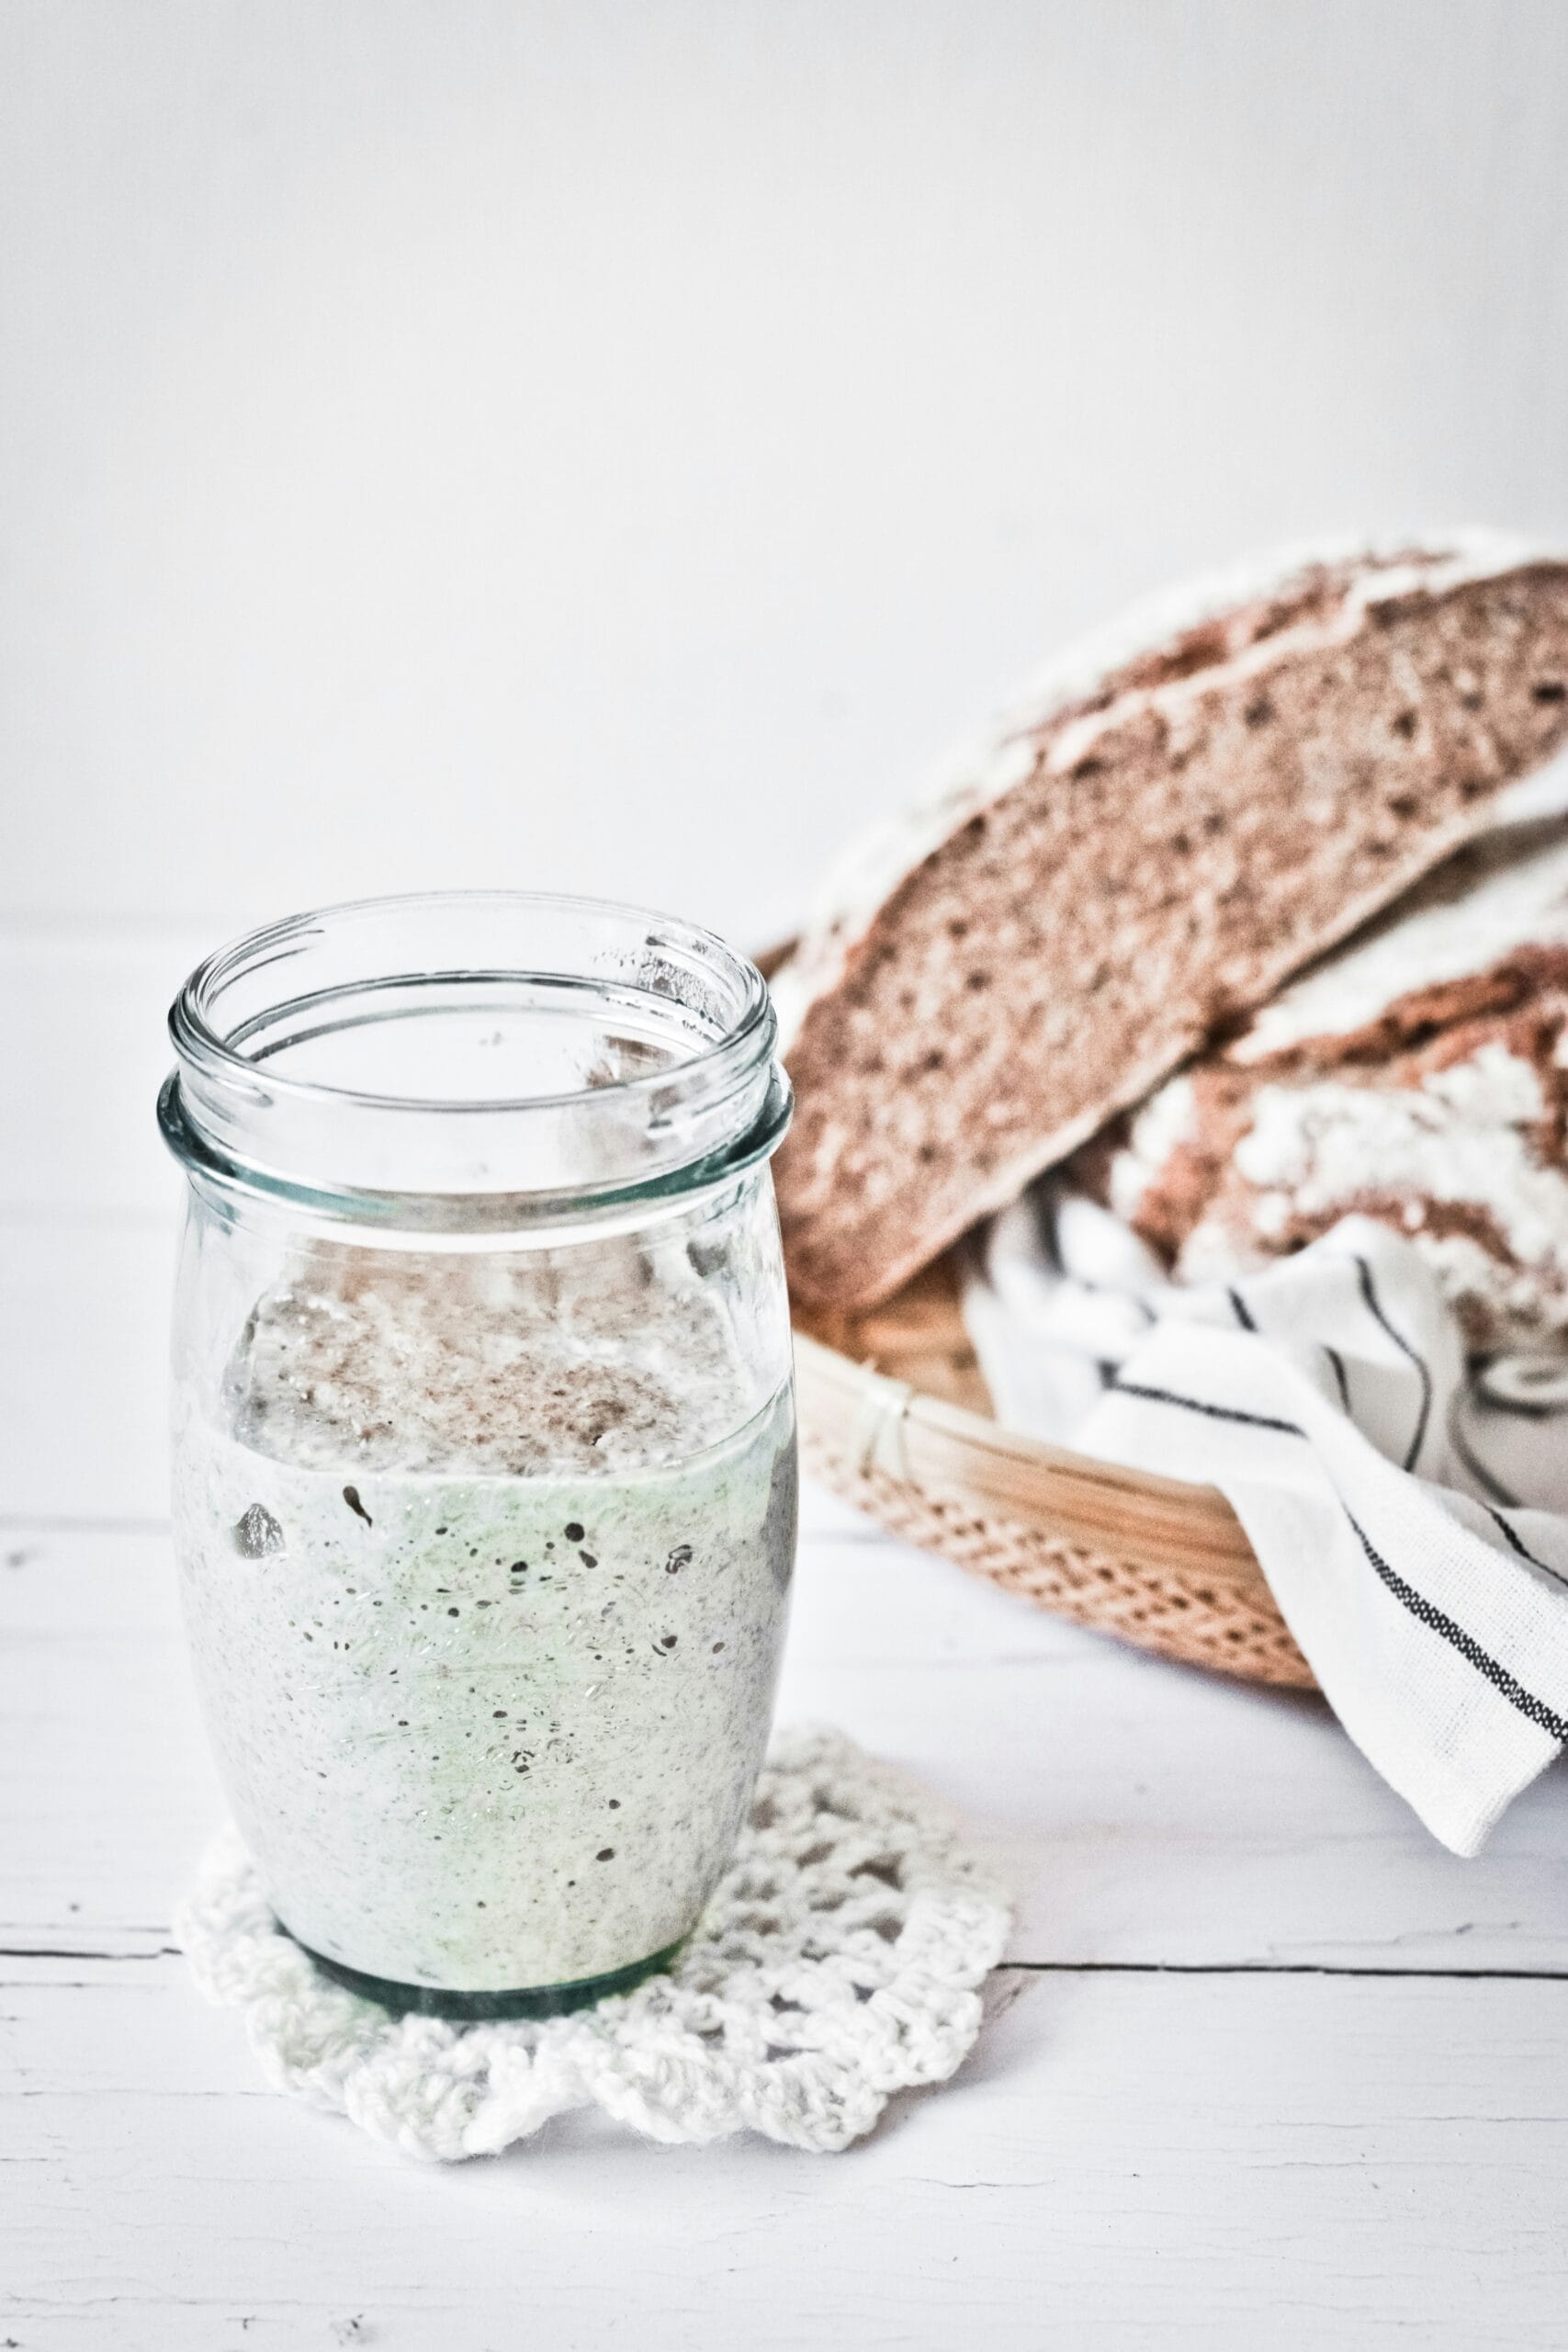
For normal sourdough feeding maintenance, you will feed your starter at a 1:1:1 ratio. That is equal parts starter, flour and water. You will feed your starter once every 24 hours.
You can keep feeding your starter with this 1:1:1 ratio until you've grown your starter enough for the recipe you want to use.
If you are just maintaining your starter, you can discard all but 50g at each feeding and maintain the 1:1:1 ratio. ( NOTE: You can use your discard in many recipes as well so don't just throw it away! )
PSA: Plumbers cost a chunk of cash—ditch the starter in the trash!
(This stuff becomes cement in your pipes).
Starter
Feeding Ratios
Starter + Flour + Water
• Standard Maintenance – 100% Hydration (1 : 1 : 1)
• Strength Boost – 1 : 2 : 2 (doubles food, same hydration).
• Lower Hydration – 1 : 2 : 1.5 (75% Hydration)
• Stiff Starter – 50% Hydration (1 : 2 : 1) (good for panettone).
IS my Starter
Ready?
✓ Doubled in size within its usual timeframe.
✓ Puffy, bubbly surface with a fresh, tangy aroma.
✓ Passes the float test: a spoonful floats in room temp water.
If any answer is “no,” give it another feeding and wait.
If you are ever unsure, it doesn't hurt to try to bake with it and see how it comes out. Often times it'll still turn out to be amazing bread.
Downloadable
Content
I've created some downloadable content for you! We have a sourdough feeding log, calendars and more. These are downloadable for a nominal fee to help me keep creating more resources for you. Check back often as I hope to keep adding to this collection.
Have requests? Let me know!
Free
Resources
Here are some free resources I've created and/or compiled from the internet just for you:
Step By STEP
Your kit comes with your dried starter and your first two feeds! All you need is water!
Day 1: Add two tablespoons of water to your dried starter in it’s jar. (It’s best to use warm filtered water.) Allow the starter to dissolve in the water for about two hours and then pour in your “First Feed” packet. Let sit for 24 hours.
Day 2: Add your “Second Feed” packet to the jar with two more tablespoons of warm filtered water. Stir together and let sit 24 hours.
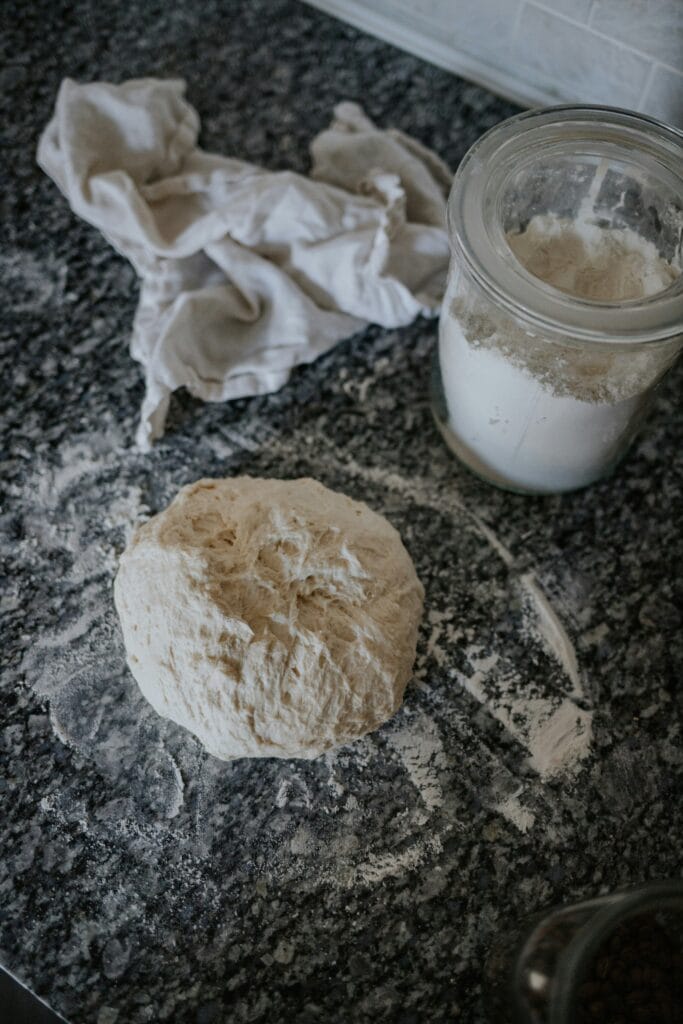
Day 3: You might need to upgrade your starter to a larger jar. It’s time to weigh your starter. Add equal parts starter/water/flour. Stir and let sit 24 hours.
Your starter should be active and bubbly within 6-12 hours. If not continue to feed your starter a 1:1:1 ratios until it becomes active.
Day 4: You can begin to use your starter and discard! Weigh off 50-100g of starter and feed it equal parts flour and water. Discard the remaining starter. (Or use it in a sourdough discard recipe).

Artistic Inspiration
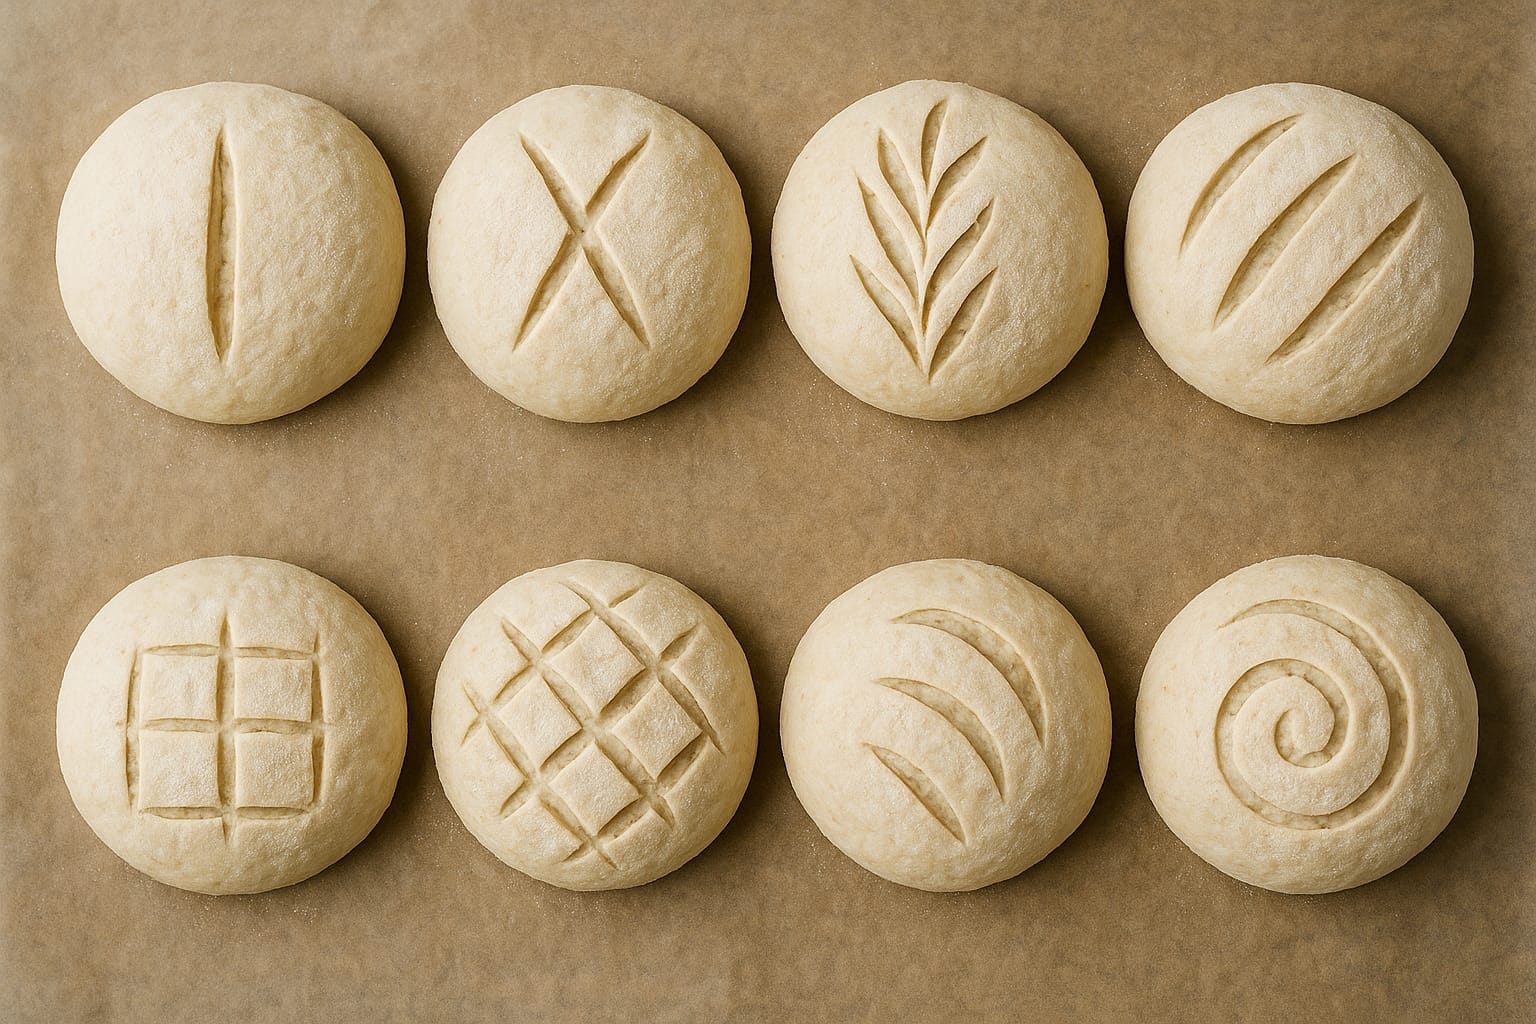
Scoring your dough
Have fun and get artistic with your dough!
You could dye portions of your dough with food coloring or natural pigments. (Like spirulina powder, turmeric, or butterfly pea flowers).
Try some different scoring patterns and techniques on your dough.
Troubleshooting
your Bread
Flavor needs tuning?
Want More Tang?
Extend cold proof to 48 hours (but be careful not to over proof).
Drop hydration of both starter and dough by 2-3%.
Use a little more rye flour (up to 10%).
Want Less Tang?
Shorten fridge proofing time to 12 hours.
Keep starter at 100% hydration and warm feeds.
Make sure you are using 100% bread flour.

Hard/Dense Bread?
Likely Causes
Under-fermented dough
Weak starter
Over kneeding or too much flour used during shaping.
Let's Fix It
Flat Bread ?
Likely Causes
Oven not hot enough
Overproofed (dough rose too long)
Dough too cold
Let's Fix It
Keep practicing
You don’t NEED fancy equipment. Any glass jar will do for your starter and any bowl will work for fermenting and proofing your dough. You can use a regular bread pan for baking and if you need to make your oven steamy, just add a pan full of water on the bottom rack of the oven.
